Most problem cases aren’t caused in the lab. They’re baked in the moment a scan gets sent.
A margin that isn’t fully captured. A bite scan that’s slightly off. A script missing the shade. None of these take long to fix in the chair. All of them take days to fix once the case has left the clinic.
For a busy clinic, that’s the difference between a smooth fit appointment and a remake. Here’s the six-point check our team recommends before any scan leaves your clinic. It takes a couple of minutes, and it’s worth building into your workflow.
1. Are the margins clear and fully captured?
This is the big one. If the lab can’t see the margin, they have to interpret it, and interpretation is where fit problems start.
Before you send, zoom in and rotate around every prep. Check for:
- Margins visible the whole way around, with no gaps
- No blood, saliva or soft tissue sitting over the margin line
- Good retraction on subgingival margins
If any part of the margin is unclear, rescan that area now. It takes seconds.
2. Is there enough clearance?
Not enough reduction means the lab has to choose between a thin, weak restoration and one that’s high in the bite. Neither is a great outcome.
Most scanning software has a clearance or reduction tool. Use it on every crown and onlay prep, and check against the minimum thickness for the material you’re prescribing.
3. Is the bite right?
A perfect prep scan with a wrong bite still produces a restoration that needs adjusting, or remaking.
Check that:
- The bite scan is taken with the patient fully closed in their normal position
- Upper and lower scans line up properly on screen
- There’s no distortion or overlap where the arches meet
If something looks off, retake the bite while the patient is still in the chair.
4. Are the scans complete?
Holes in the scan mean missing information. Look for gaps around the prep, the adjacent teeth and the contact areas, as well as the opposing arch.
For splints, appliances and anything spanning the arch, make sure you’ve captured full arches, not just the working area.
5. Have you included shade and photos?
A scan shows shape. It doesn’t show colour, translucency or character, and it doesn’t show the patient’s smile.
For anything aesthetic, include:
- A shade tab photo next to the tooth, in natural light
- A clear photo of the adjacent teeth
- Any notes on characterisation the patient wants
Thirty seconds of photography can save a whole remake on an anterior case. See our blog on Perfecting Clinical Photography
6. Does the script match the scan?
The last check is the one most often skipped. Before you send, confirm:
- Tooth numbers match the scan
- Material and restoration type are specified
- The due date reflects when the patient is actually booked
- Any special instructions are written down, not assumed
A complete script means production starts straight away, instead of waiting on a phone call.
Make it part of the workflow
The clinics that see the fewest remakes aren’t doing anything complicated. They’ve made checks like these a habit, so nothing leaves the clinic incomplete.
Print the checklist below and stick it next to your scanner. Share it with every clinician and assistant who scans.
Pre-send scan checklist
- Margins clear and fully captured
- Clearance checked for the material
- Bite correct and aligned
- No holes or missing areas
- Shade and photos attached
- Script complete and matches the scan
A lab that checks too
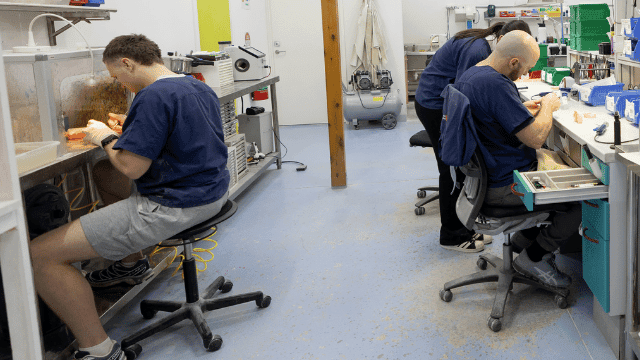
Good habits on your side work best with a lab that’s looking just as closely on ours. At Australian Dental Labs, if something in a scan doesn’t look right, we’ll pick up the phone before production, not after the patient’s in the chair.
We work with a limited number of high-volume clinics that want lab work done right the first time.